Create a simulation in 3 steps
New to GPTutor simulations? This is the shortest path. The in-app designer already walks you through a plan before anything is saved. Students never see a draft until you click Create simulation.
In the designer header, User guide opens this page. A quiet Getting started hint under the header follows the current move (describe, confirm the plan, then Preview). It does not dim the workspace or push you to save.
For every control (export, widgets, stages, student view), see For Instructors.
1. Describe the scenario
-
Open your course and create a Simulation Chatbot module.
-
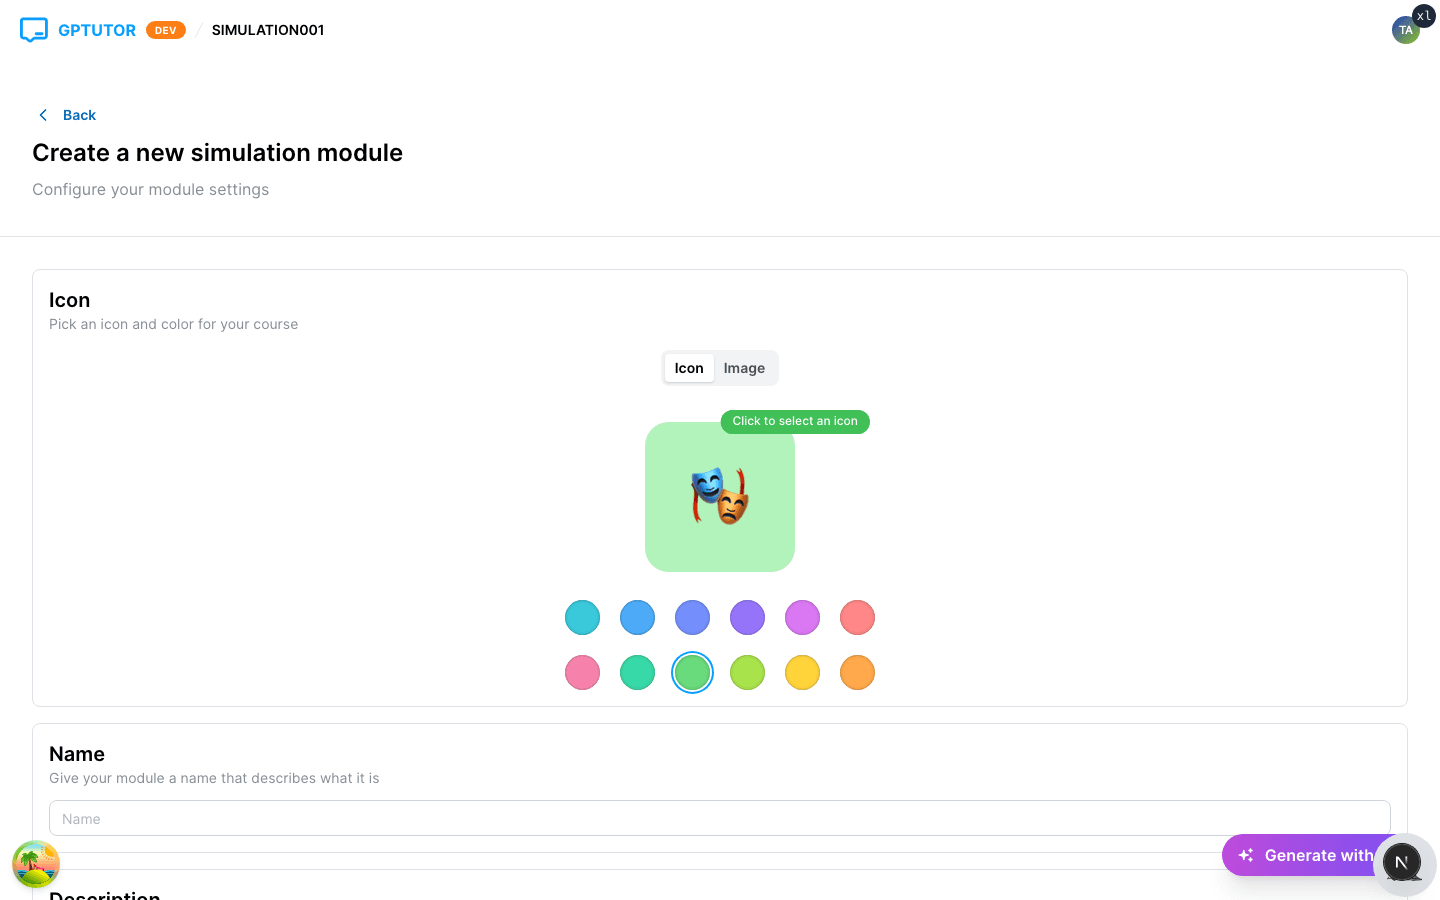
On the create page, click the purple Generate with AI button (bottom-right).
-
You land on Build your simulation. Choose Role-play or Medical at the top (role-play is the default). Type who the student talks to, what they should practise, and what makes it challenging. Open the gear only if you need to change language, stages, model, or reasoning effort. Use + to attach an optional case brief, course asset, or existing simulation. By default the simulation is Reference only (the AI borrows patterns; your draft is unchanged). Switch to Copy as working draft if you want its characters, stages, actions, and rubric reminted into this session — the original module stays unchanged either way.
-
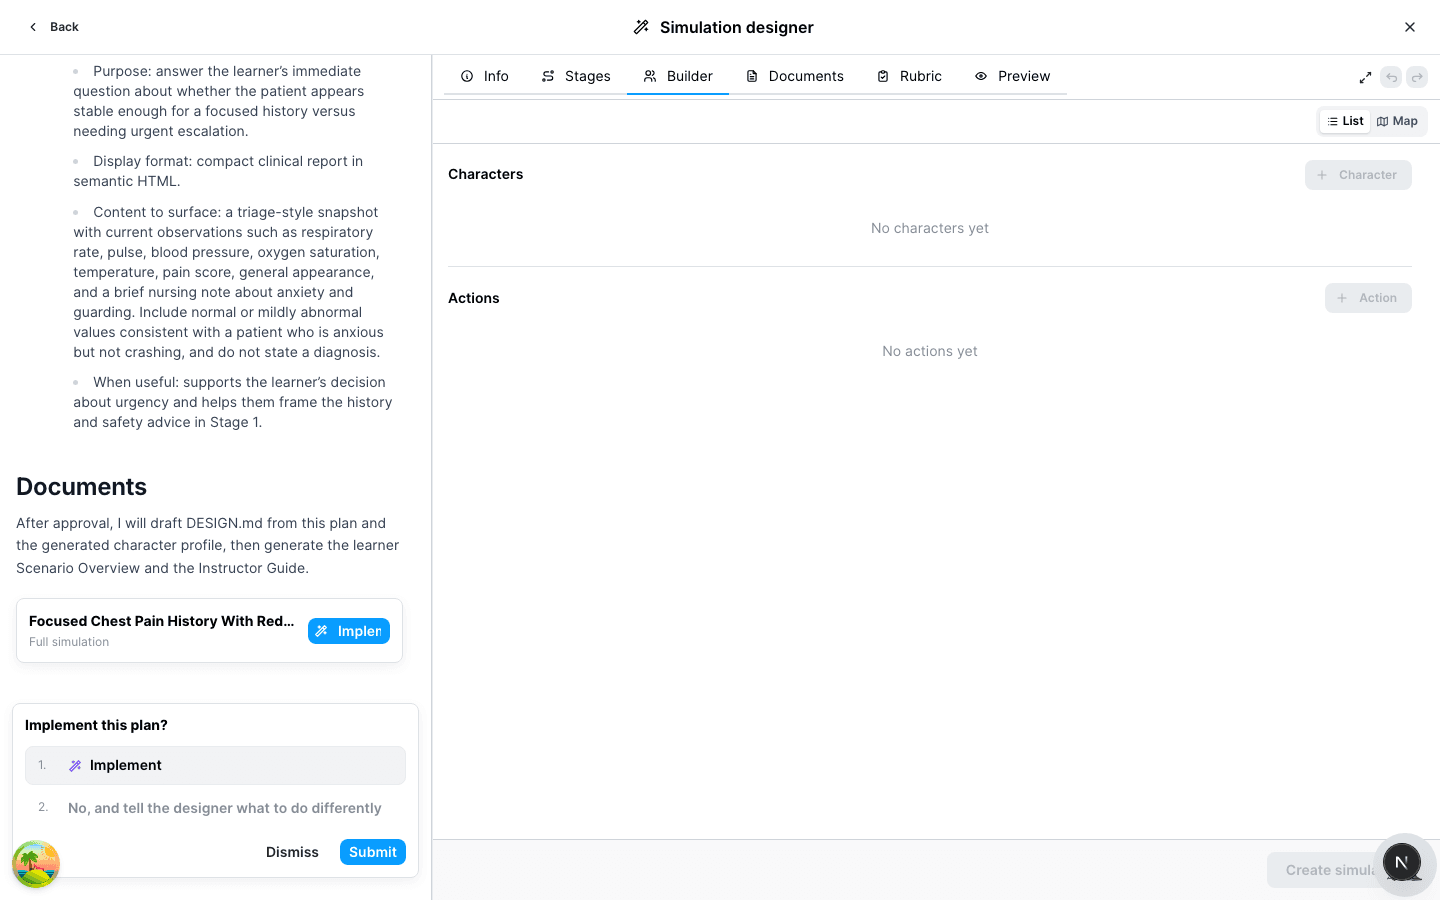
Send. The designer asks a few questions if needed, then shows a plan. Nothing is built yet.
-
Click Implement. That is the required gate: design notes, the main character, stages, and a rubric outline appear only after you approve.
2. Meet the parts
The workspace splits into chat (left) and tabs (right). Chat is how you ask for changes; the tabs are where you inspect the draft.
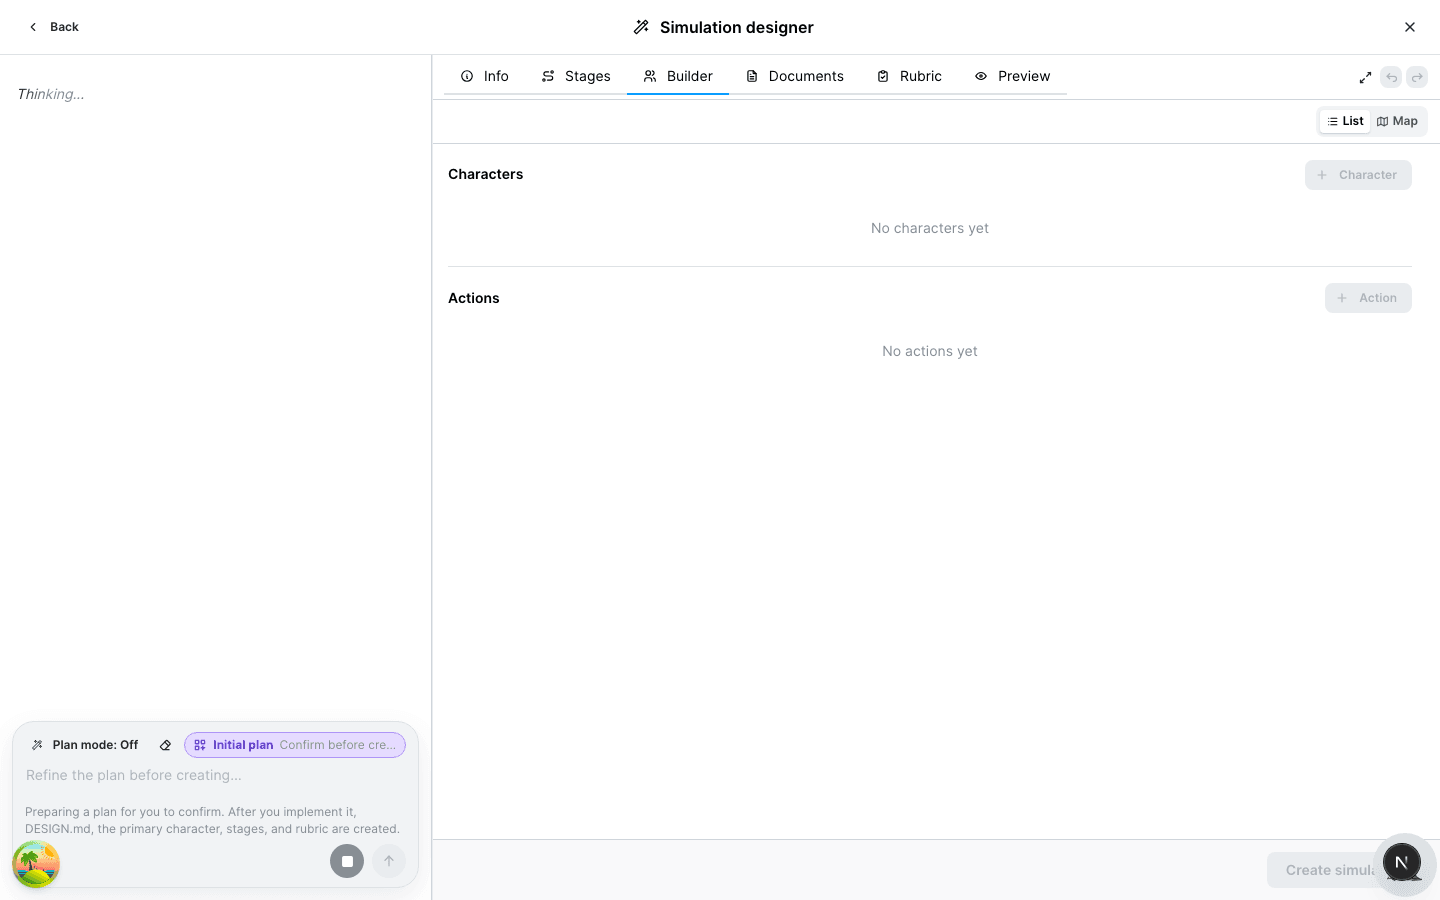
| Tab | What it is |
|---|---|
| Info | Name, description, voice, opening message |
| Stages | How students move through the scenario |
| Builder | Characters and / learner tools (list or map) |
| Documents | Your design notes, student Scenario Overview, instructor guide |
| Rubric | Grading criteria you can test in Preview |
| Preview | Play the draft as a student |
Type @ in chat to focus one character, or / to focus one action.
3. Play it, then save
-
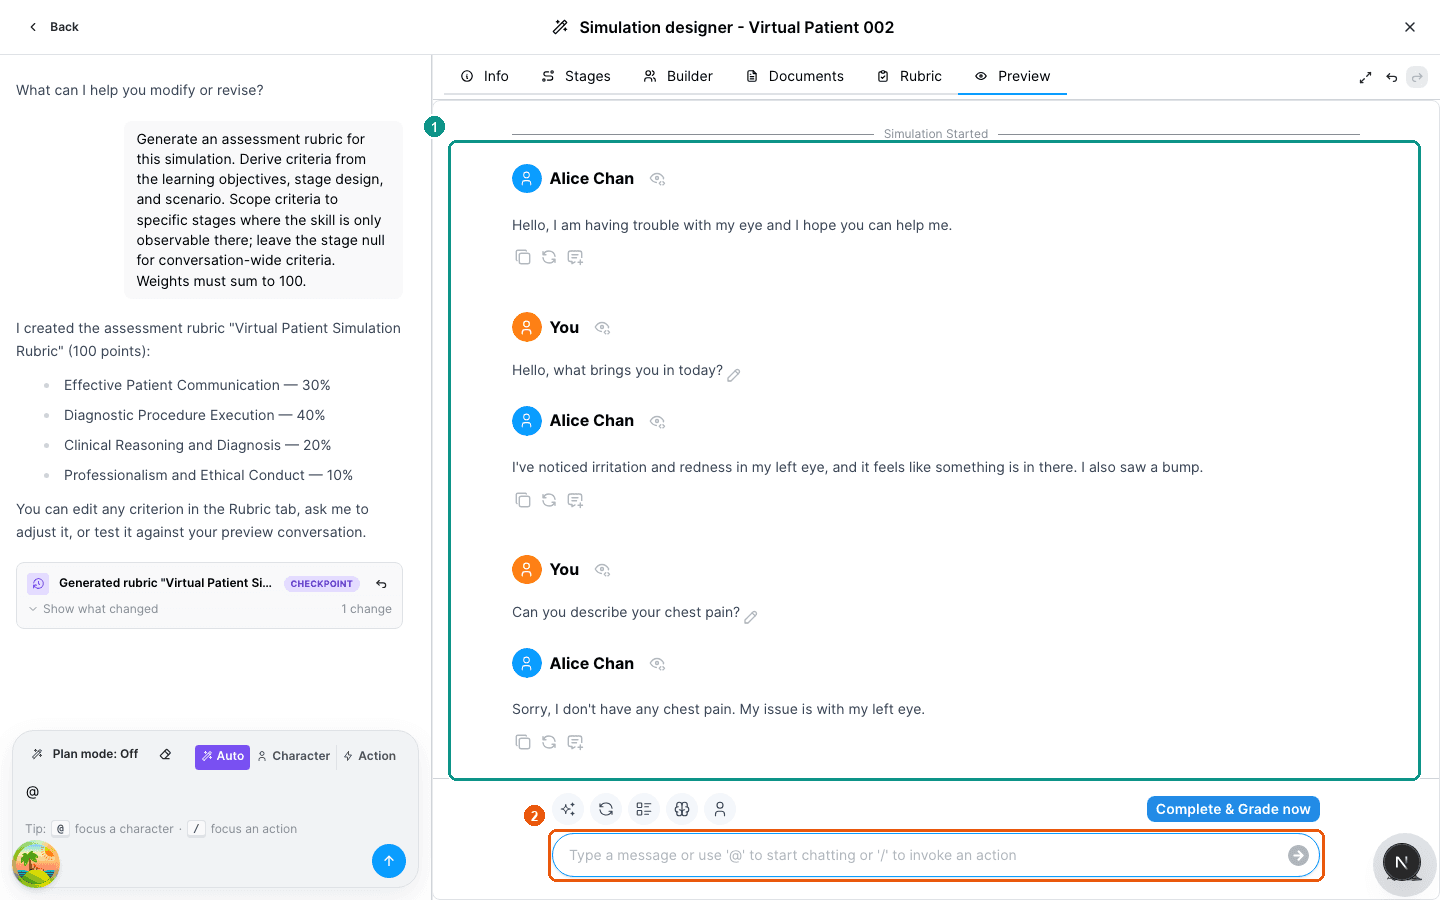
Open the Preview tab. Click Start New Simulation and chat as a student would.
-
Preview does not save anything for students. When you are happy, leave Preview (the Create simulation button is on the other tabs) and click Create simulation.
Nothing is published until that last step succeeds. To change an existing module later, open it and click Revise with AI.
Need the full reference — manual create, export, widgets, or the student experience? Continue to For Instructors.